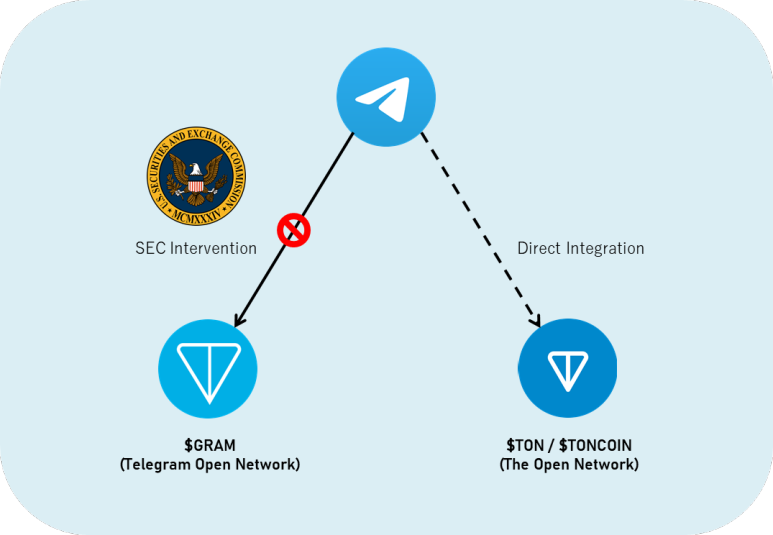
TON (The Open Network)의 탄생과 관련하여 가장 관심이 가는 점이 있다면 아무래도 Telegram과의 관계라고 할 수 있다. 앞서 Telegram은 2018년 자체적으로 구축한 블록체인인 Telegram Open Network와 native token인 $GRAM이라는 암호화폐를 론칭한 바 있다.
기존 $GRAM은 SEC의 제동으로 좌초되었으나, Telegram CEO 파벨 듀로프(Pavel Durov)의 TON에 대한 전폭적인 지지와 메신저와의 긴밀한 협력을 고려하면 TON과 Telegram의 관계를 생각해보지 않을 수 없다.
현재 Telegram이 TON을 적극적으로 서포트하고는 있으나 뚜렷한 공식 관계가 드러난 바는 없다. 이번 포스팅에서는 TON의 다소 복잡할 수 있는 가정사와 탄생 배경에 대하여 살펴보려고 한다.
|Telegram Open Network의 등장

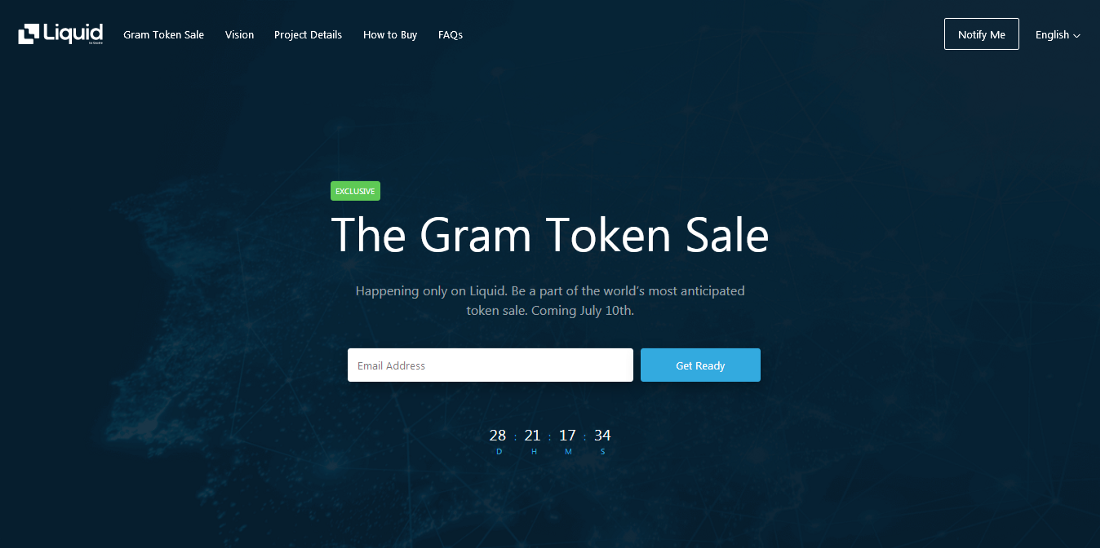
앞서 설명한대로, Telegram은 Telegram Open Network라는 현재의 TON과 동명의 블록체인 서비스를 출시했다. 이는 2018년 TechCrunch가 Telegram이 암호화폐 결제를 메신저 앱에 통합할 수 있다는 뉴스로 시작됐다. 당시 Telegram은 Telegram Open Network와의 백서를 발표하며 $GRAM이 탄생했다.
Telegram은 ICO를 통해 $500M을 모아 본격적인 TON 개발을 시작했다. 또한 2021년까지 TON을 Open Foundation의 통제하에 두고 Telegram과 TON의 운영을 분리하여 범위를 확장하고 운영을 분산시키는 계획이었다.
|문제의 시작, SEC vs Telegram
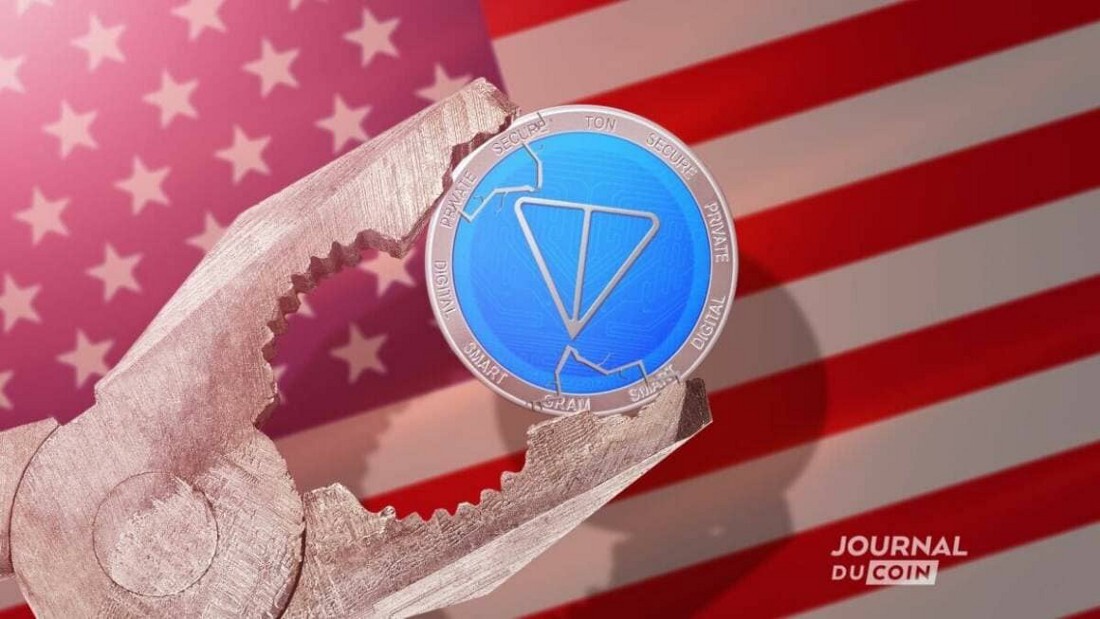
2018년 4월까지 총 $2B의 GRAM 토큰에 대한 private sale이 진행됐고, 이 때까지는 모든 것이 순조로웠다. 다만, 여느 블록체인 프로젝트가 그러하듯, GRAM 역시 크고 작은 문제에 부딪히게 된다. 무엇보다 미국 SEC의 개입은 프로젝트 진행에 중대한 제동을 걸었다.
성공적이었던 private sale 이후 미국 관할권 및 SEC 규정에 따른 public sale이 시작됐는데, 당시 $GRAM에 대한 투자 계약은 향후 토큰이 출시될 때 받을 수 있는 선물 계약의 형태를 띄었다. 해당 선물 계약이 인증된 투자자에게만 판매되었고 TON이 운영되기 시작하는 시점에는 토큰이 유틸리티 성격을 갖게 되면서 증권성 이슈를 피해갈 수 있었다. 이 과정에서 Telegram이 제출한 서류와 SEC의 묵인으로 ICO에 청신호가 켜진 것으로 볼 수 있었다.
그러나 결국 SEC가 개입하며 2019년 10월 11일 $GRAM의 유통이 일시적으로 제한됐다. SEC는 토큰의 초기 구매자가 증권 인수자 역할을 할 것이며, 토큰 분배가 시작될 시 등록되지 않은 증권이 배포되는 것으로 해석한 것이다. 당시 $GRAM뿐만 아니라 메타(구 페이스북)가 론칭한 Libra 역시 비슷한 제재를 받았다. 힘든 법정 싸움 끝에 2020년 5월 12일 파벨 듀로프는 TON 블록체인에 대한 종료를 발표했고, 기존 판매한 토큰계약에 대한 환불이 2021년까지 진행됐다.
|TON의 부활
파벨 듀로프는 사실 SEC의 방해를 어느정도 예견했던 것인지, 처음부터 TON을 오픈소스로 개발하고 코드 전체를 GitHub에 공개했다. Telegram이 당초 원했던 TON을 출시할 수는 없지만 커뮤니티 자체적으로 프로젝트를 개발하고 결실을 맺을 수 있도록 길을 열어둔 것이었다.

Telegram이 공식적으로 프로젝트를 중단하기도 전인 2020년 5월 7일 FreeTON이 TON의 오픈소스 기술을 활용하여 시작됐고(향후 FreeTON은 Everscale로 브랜드 변경), 이를 비롯한 복수의 프로젝트가 경쟁하는 가운데 결론적으로 현재의 The Open Network가 운영하는 TONCOIN이 사실상 TON의 정통성을 이어받게 되었다.
Telegram의 파벨 듀로프는 2021년 11월 본인의 채널을 통해 The Open Network에 대하여 공개적으로 지지선언을 밝혔다. 현재 같은 채널을 통해 수차례 TON 프로젝트에 대한 적극적인 관심을 드러내고 있을 뿐만 아니라, 실제로 Telegram 앱 안에 TON wallet 기능 등을 추가하면서 다각적인 지원을 아끼지 않고 있다.
정리해보면, Telegram은 최초에 $GRAM을 론칭했으나, SEC의 개입으로 좌초되었고, 대신 $TON(The Open Network)를 통해 블록체인 비전을 이어간다고 볼 수 있겠다.
여전히 Telegram은 The Open Network 블록체인을 메신저에 연계했을 뿐, 여전히 직접적인 운영에 관여하는 것은 아니다. 그러나, 대중에 대한 파급력이 큰 메이저 SNS 앱의 전폭적인 지원을 등에 업었다는 것은 기존 Layer1의 아킬레스 건인 mass adoption으로 갈 수 있는 기대감을 가져볼만 하다는 생각이다.
'코인마이닝(PoW) & PoS & NFT > Ton' 카테고리의 다른 글
| Bit.com AMA에서 만난 앤드류 로고조프와(TON창립멤버)의 질의응답 정리 (한국어) (0) | 2023.01.25 |
|---|---|
| 차세대 Layer1 TON(The Open Network) 심층 분석 (0) | 2023.01.25 |
| WTON 게이트웨이 출시 (0) | 2023.01.18 |
| 보안을 위한 TON Connect (0) | 2023.01.11 |
| TON Connect 2.0 대 1.0 (0) | 2023.01.11 |
